# Amazon SES Mail
### **1. Create SMTP Credentials**
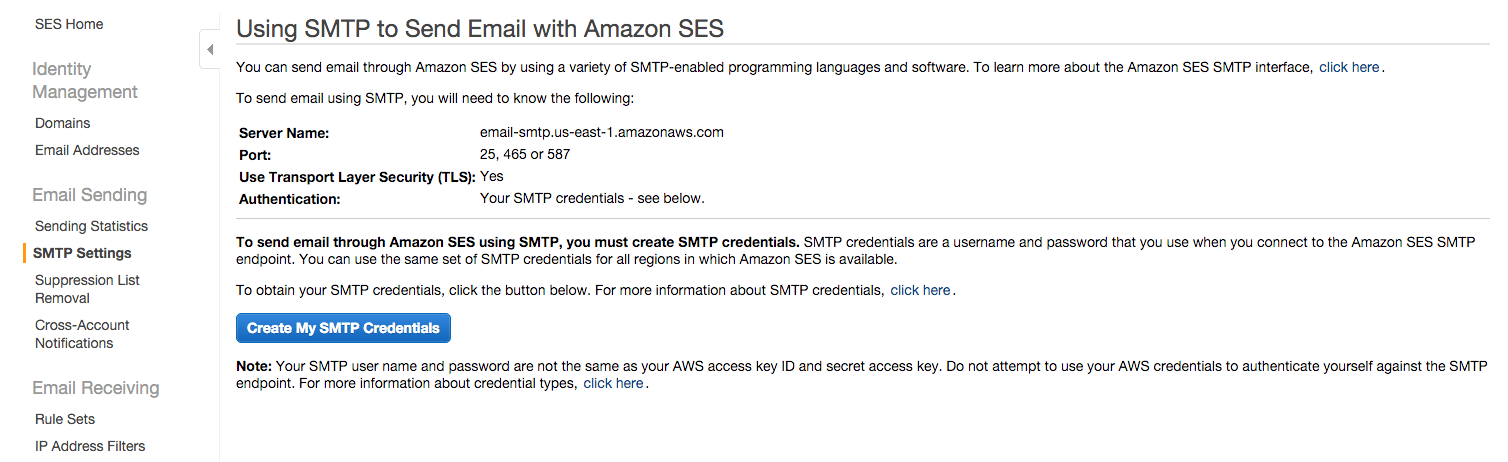
To send emails through the Amazon SES SMTP interface, begin by creating SMTP credentials - a user name and a password - as shown below:
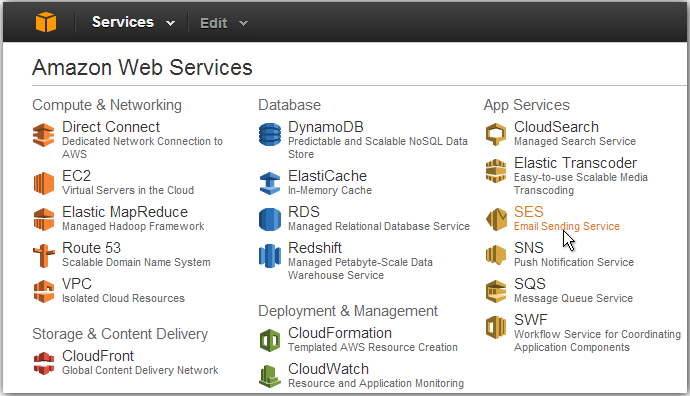
* Log into the [AWS Management Console.](https://console.aws.amazon.com/console/home)
* Click the “SES Email Sending Service” option.
* In the left navigation bar, click the “SMTP Settings” option.
* Click the “Create My SMTP Credentials” button.
* Copy your credentials or click the “Download Credentials” button as the password will not be shown again.
### **2. Request Removal Of Amazon SES Restrictions**
Add and verify your email address following these steps:
* Log into the [Amazon SES Console](https://console.aws.amazon.com/ses)
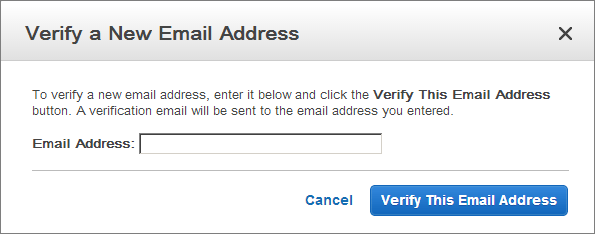
* Click the “Verify a New Email Address” link.
* In the “Verify a New Email Address” dialog, enter the email address you wish to send messages from and click the “Verify This Email Address” button.
* You should now receive a verification message from Amazon SES asking you to confirm that you are the owner of the email address. Click the verification link in the message.
* Check the status of the email address in the Amazon SES Console. The status of the email address should change from “pending verification” to “verified”.
### **3. Request Removal Of Amazon SES Restrictions**
To remove these restriction on recipient addresses and increase the sending limits, [request a higher level of access in the Amazon Support Center](http://docs.aws.amazon.com/ses/latest/DeveloperGuide/request-production-access.html).
### **4. Configure Your Application To Use Amazon SES**
Input Username and password which the correct values from the credentials created in Step 1, while the EMAIL\_ADDRESS placeholder should be replaced with any SES-verified email address to Email template tab.
---
# Agent Instructions: Querying This Documentation
If you need additional information that is not directly available in this page, you can query the documentation dynamically by asking a question.
Perform an HTTP GET request on the current page URL with the `ask` query parameter:
```
GET https://ping-me.gitbook.io/pingme-document/common-errors-and-how-to-fix/email-configuration/amazon-ses-mail.md?ask=
```
The question should be specific, self-contained, and written in natural language.
The response will contain a direct answer to the question and relevant excerpts and sources from the documentation.
Use this mechanism when the answer is not explicitly present in the current page, you need clarification or additional context, or you want to retrieve related documentation sections.